How to Join Fabric Patterns


This week we are sharing how to line-up fabric patterns so that multiple fabrics can be sewn together to look like one giant piece of fabric. We love using this technique for quilt backs. It is an easy skill to learn. With a few tips, you will be able to match-up your quilting backs in no time!
Step 1: Determine Fabric Design Repeat
Printed fabrics all have a specific size, which will repeat over and over throughout the fabric. The “repeat” is how many inches the pattern is before it starts over again. Repeat is measured both horizontally and vertically. To determine your repeat, you will choose a spot on the fabric and then measure to the exact same spot both horizontally and vertically to determine the repeat.

It is important to determine the fabric’s repeat when purchasing fabric. For the fabric example above, you will need to add an additional quarter yard to accommodate for the repeat. This will prevent you from not having enough fabric for your sewing project. For our tutorial we have purposely selected a fabric that has a very small repeat.
Step 2: Iron ½” Hem on One Fabric
Take one of your fabric pieces and iron a ½” hem towards the wrong side of the fabric. Just “eyeball” the ½” measurement. It does not have to be precise.

Step 3: Glue Baste
Time to get your glue baste out. Our favorite glue baste tool is from Pen + Paper Patterns. It is called Fineline® Glue Tips. Each package comes with two tips. The Fineline® Glue Tips are specially made with quilters in mind. Experience controlled, precise glue placement with the stainless steel 18-gauge applicator. Each glue tip uses an air-tight, non-clogging wire cap closure system that ensures that the glue tip is always ready for immediate use. The Fineline® Glue Tip fits a 4 oz. bottle of Washable Elmer's Glue.

Apply a line of glue to the folded edge of the fabric as shown below.

Line-up the glued folded edge with the corresponding pattern design on the other fabric. We work in sections of about 6 to 8 inches so that we don’t smear glue all over the place. Once you have all the fabric patterns matched up and secured with glue, allow the glue to dry for about 15 minutes.

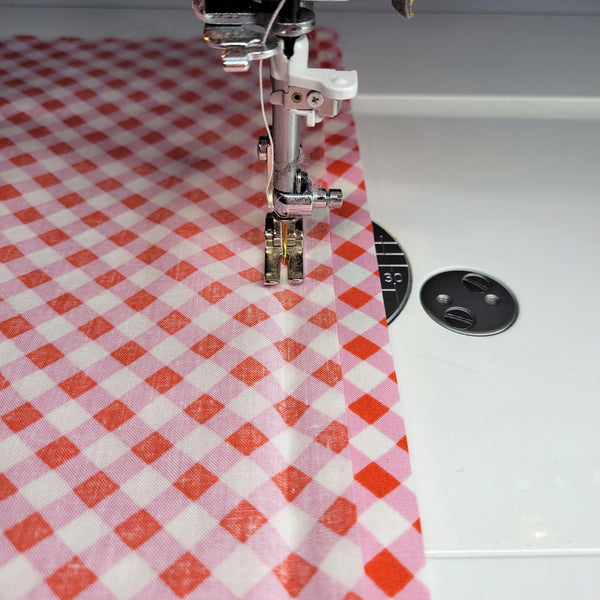
Step 4: Sew the Fabrics Together
With the right sides of the fabric facing each other, use the folded hem as a guide. Sew right along the fold line on the wrong side of the fabric.
Step 5: Trim Excess Fabric
Now that your two fabrics have been joined. Trim the fabric to a ¼” seam allowance. Use the thread of the seam as a guide for cutting.

Step 6: Press
With the right side of fabric facing up, press the seam towards one of the fabric sides. You will not be able to press the seam open due to the glue basting.

Congratulations! You’ve mastered joining fabric patterns! If you have any additional tips, let us know! We will share it with our sewing community. Happy Sewing!


