How to Bind a Quilt in 8 Easy Steps


If you’ve made it this far sewing your quilt, congratulations, you’re almost finished! Binding a quilt is the very last step in quilt making. We’re here to help you put the right finishing touches on your gorgeous quilt, step-by-step. Read on to learn how to bind a quilt the right way.
Quick and Easy Quilt Binding Tutorial
Step 1: Prep Your Quilt for Binding
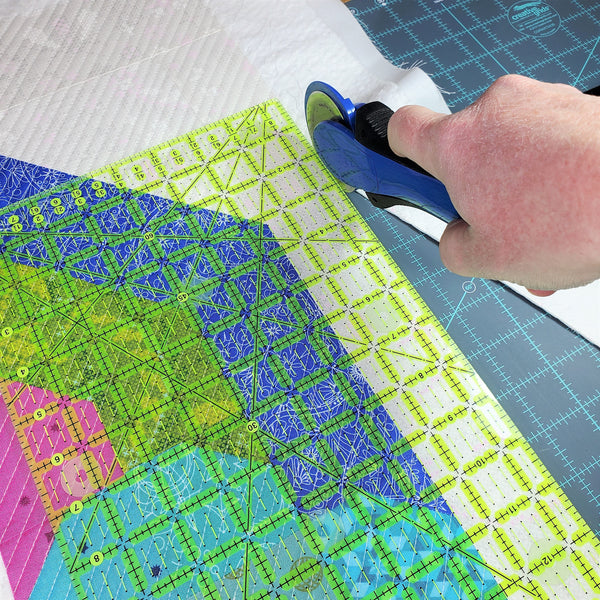
Prepare your quilt for binding by cutting off any excess batting. Using scissors or a rotary cutter, trim any batting that extends past the edge of the quilt or it will show in your stitching and give a messy appearance. Once you’re done trimming, you will have a nice clean edge to work with when you start binding.
Step 2: Make Your Quilting Binding
To begin making the binding, you need to cut strips of fabric to go around the sides of the quilt. To calculate how much you need, start with your quilt’s perimeter. If you need a quick math refresher, total your perimeter by adding the length of all four sides together. For example, if you have a quilt that’s 42 inches wide and 50 inches long, the perimeter would be 184 inches (42 + 42 + 50 + 50). See diagram below for quick reference.
Once you have your quilt’s perimeter, add 10 extra inches to ensure the binding covers the corners comfortably. For example, a 184-inch perimeter requires a total of 194 inches of binding.
Let’s keep going with that example to see how to make the next calculation. You are going to be making one very long strip of binding that goes around the whole quilt. To create your binding, it’s better to use a starchier fabric so that it will stay flat and in place as you work with it.
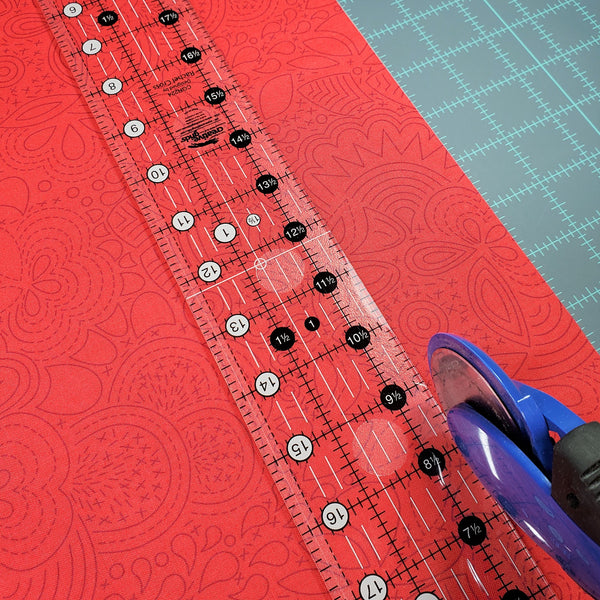
These strips are typically cut 2¼ to 2½ inches wide; for this project, we will use a 2½-inch binding. Since cutting a single 194-inch strip isn’t practical, you will piece several smaller strips together to create your continuous binding.
To find out how many strips you need, divide your total binding length by the usable width of your fabric. For a 194-inch requirement and 42-inch-wide fabric, the calculation is 194 \div 42 = 4.62. Since you can’t cut a partial strip, always round up to the next whole number—in this case, you’ll need 5 strips.
Once you do the math and cut out your strips, you’re ready for step three!

Feel free to download, save, print and share this document for quick reference.
PDF Download: The Quick Guide: Quilt Binding Math
Step 3: Sew Strips Together
To create your continuous binding, sew your strips together into one long piece. While there are several methods, joining them with a mitered (diagonal) seam is ideal because it distributes the bulk of the seam allowances across a larger area.
To get started, take two strips and overlap the ends to form a 90-degree "L" shape (make sure the right sides are facing each other!). Now, just sew a diagonal line at a 45-degree angle right through the middle of that overlapping square. It is helpful to draw a line as a sewing guide using an erasable maker.
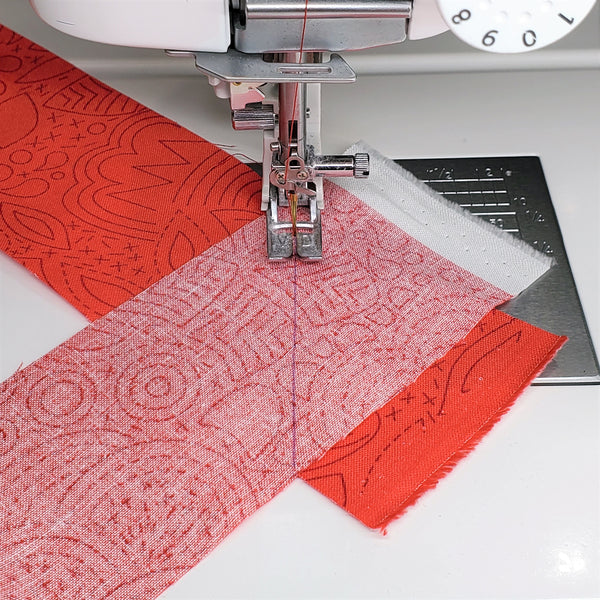
Now, just trim away that extra fabric to leave a 1/4-inch seam allowance. Keep adding your remaining strips one at a time (right sides together!) until you’ve transformed all those smaller pieces into one long, beautiful binding.

Step 4: Iron Your Binding Strips
Next, prepare your binding strip for the quilt. With the wrong side facing up, use a steam iron to press the seam allowances open and flat. Once those are set, fold the entire strip in half lengthwise (wrong sides together) and press, creating a crisp, continuous single-fold binding.

Step 5: Pin Your Quilt
After you've pressed your binding, it’s time to start pinning it to the quilt's first side. Here is how to ensure a professional finish:
Check the Perimeter: Before you commit to pinning, lay the binding loosely around the entire edge of the quilt.
Avoid Corner Seams: Check where the join seams in your binding fall. If a seam lands directly on a corner, it will be too bulky to fold neatly.
Adjust if Necessary: If a seam hits a corner, simply shift your starting position a few inches in either direction to move it.
The Starting Point: Aim to begin pinning about 5 to 10 inches away from any corner to give yourself plenty of room for joining the ends later.

Once you have the binding lined up around the edges, pin one side to the quilt. The binding goes on top of the quilt (with the quilt facing upward), with the rough edges of the binding lined up with the rough edges of the quilt, and the folded edge of the binding facing inward toward the quilt.
Step 6: Attach Your Quilt Binding
Now, you can finally attach the binding to your quilt!
Backstitch at the beginning and end of the seam. Sew using a 1/4" seam allowance along all four sides of the quilt.

For each corner of the quilt, you will create a “mitered corner.” This means you will fold the binding to create a triangle tab (you will sew the flap down later).
Take the tail of the binding and fold it up away from yourself.

Then fold it back so that the outside edge of the binding continues uninterrupted around the corner of the quilt and the inside edge folds up into the triangle tab.

Continue pinning and sewing the binding along the next side of your quilt. Repeat this process until you have rounded all four corners and returned to the side where you began.
Be sure to leave about a 10-inch gap between your starting stitch and your finishing stitch. This unsewn space is essential, as it provides the slack you'll need to join the two ends of the binding strip together seamlessly.

There are several ways to complete your binding for a clean finish. For this project, we are using the "Pocket Method" to join the ends. If you prefer a different look, we also have a detailed tutorial on How to Join Mitered Quilt Binding Ends. Both techniques result in a professional, beautiful finish.
The Pocket Method
Trim the Excess: Cut your binding tail so you only have a few inches of overlap remaining.
Create Pocket: Fold over one edge of the binding fabric by a 1/2-inch.
Tuck the Tail: Take those few inches of excess and tuck them neatly into the "pocket" created at the very beginning of your binding strip.
Finish the Seam: Once the tail is securely inside, you can stitch the remaining gap closed.

Sew down the side once more so that the binding is attached to the quilt in one continuous line.

Step 7: Pin Binding on Reverse Side of Quilt with Binding Clips
The next step in binding a quilt is to flip the quilt over and pin the binding down to the other side. You can use straight pins or binding clips. Fold the binding down so that the seam you made around the perimeter is hidden and the binding lays flat against the opposite side of the quilt. Flip the corners inside-out and they will naturally form a mitered corner.

Step 8: Hand Stitch Binding on Quilt Back
Once your binding is fully pinned, you can complete your quilt by hand-stitching the binding to the back. While this process takes a bit more time than machine-stitching, it offers much more precision and results in a beautifully polished finish.
Settling in for this stage is the best part - grab a comfortable seat, put on your favorite show or a BBC mini-series, and enjoy the slow sew! Using a blind stitch, attach the binding to the quilt around the entire perimeter for a clean, invisible look.
Pro-tip: Make sure you use a quality needle for easy stitching, hand sewing thread that has a little extra weight for smooth sewing, and thread gloss to prevent knots.

Feel free to download, save, print and share this document for quick reference.
PDF Download: The Quick Guide: Blind Stitching Diagram
That’s it! You have successfully learned how to bind a quilt. Step back and admire your work, take some pictures to share with your friends, or just cuddle up underneath your finished quilt. Then, get ready to start working on your next one. If you need to restock your fabric, shop our cotton quilting fabrics.

We used the Lucky Quilt Pattern and assorted Alison Glass fabric to create this adorable rainbow and sunshine block.


